01. حفر ثقوب في الجدار باستخدام مثقاب مائي
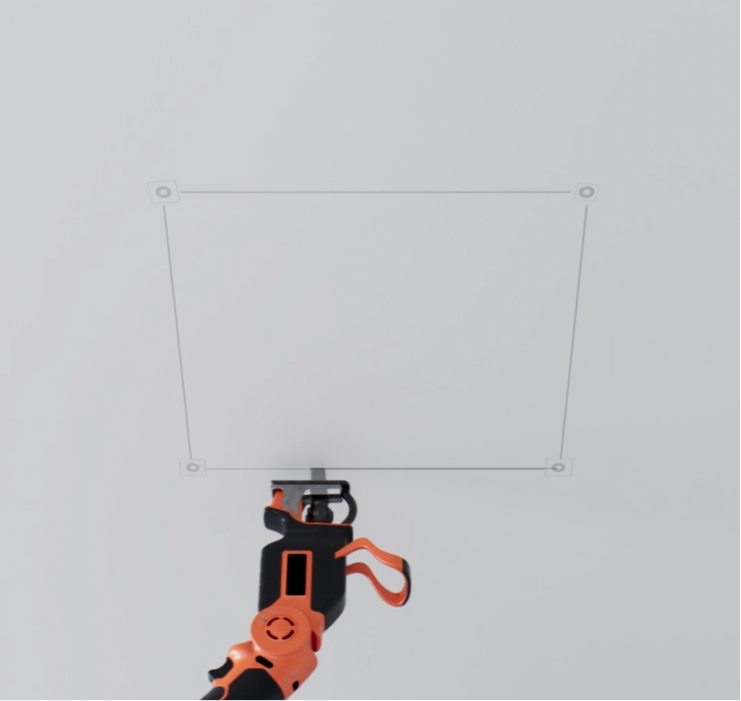
02. قطع شق في السقف

03. تثبيت الحافة
04. تثبيت خط الأنابيب

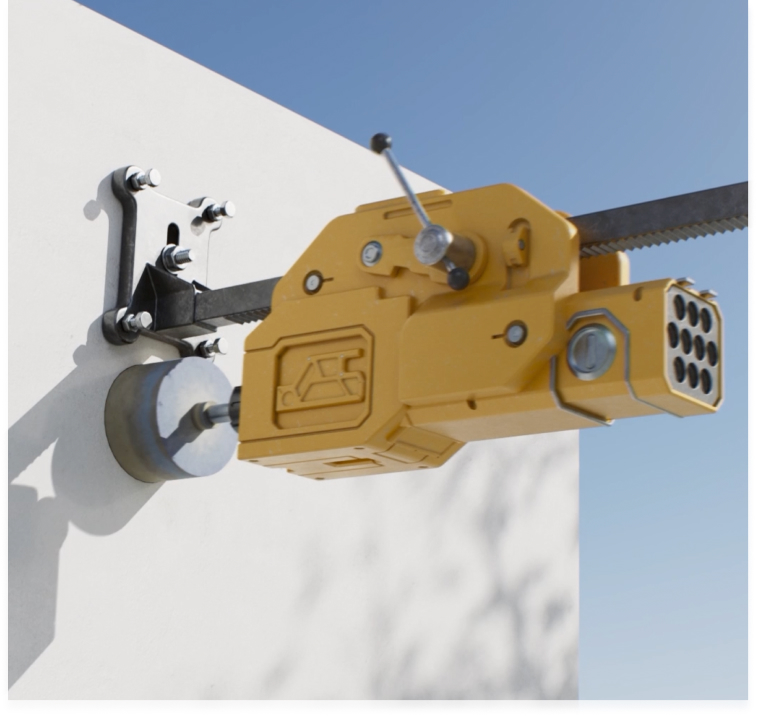
05. التثبيت على الهيكل الرئيسي (العارضة)

06. توصيل خط الأنابيب بالخارج

07. تركيب غطاء التهوية الخارجي
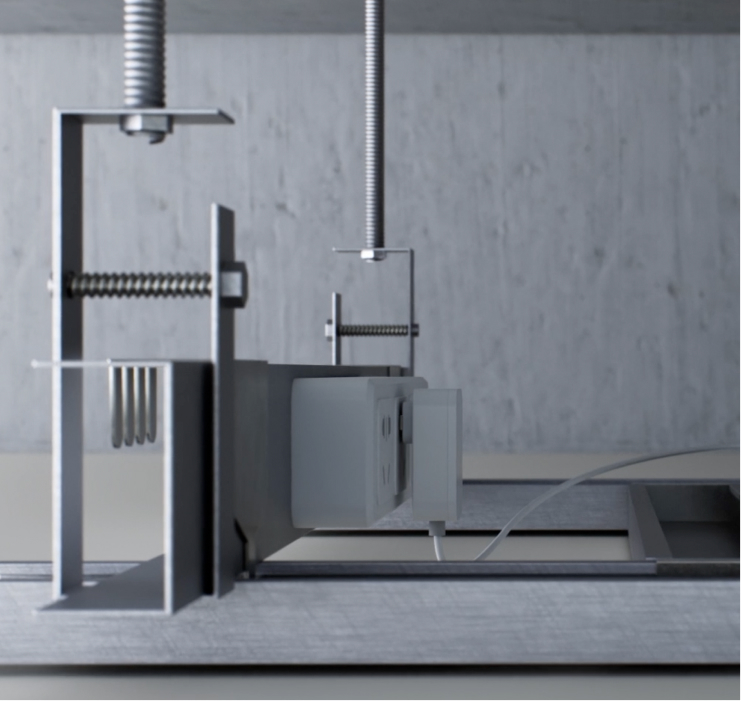
08. توصيل مصدر الطاقة

09. إعادة تركيب ألواح الجبس
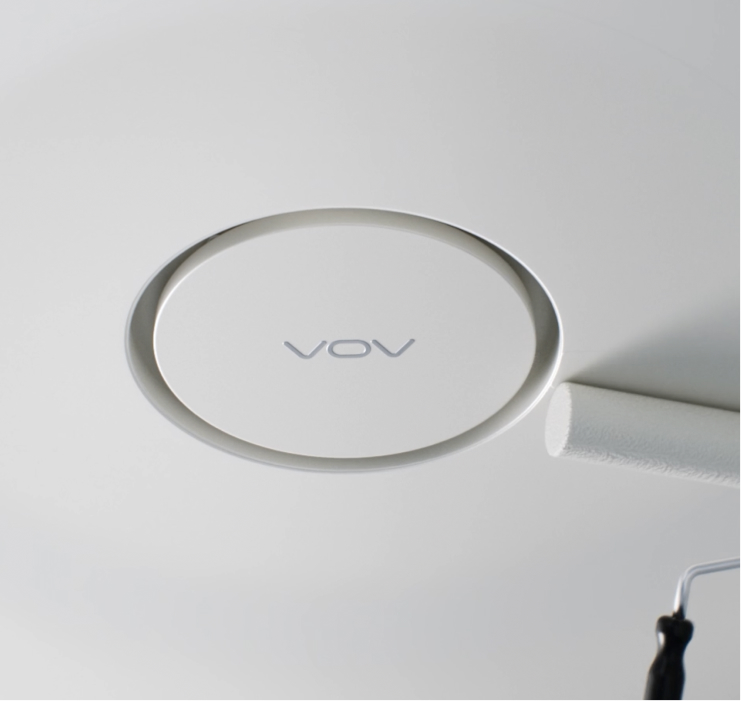
10. تطبيق طلاء اللاتكس

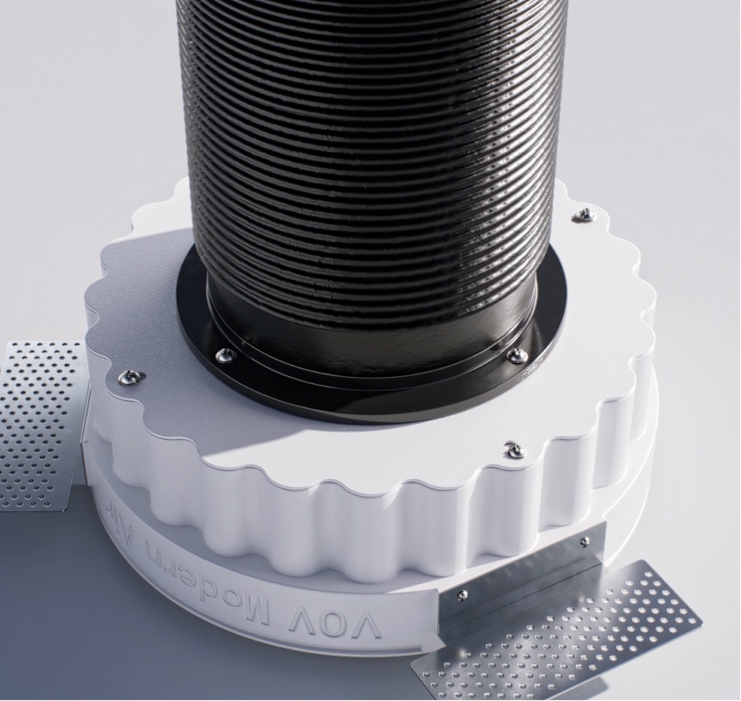
11. تغطية لوحة غطاء الفلتر
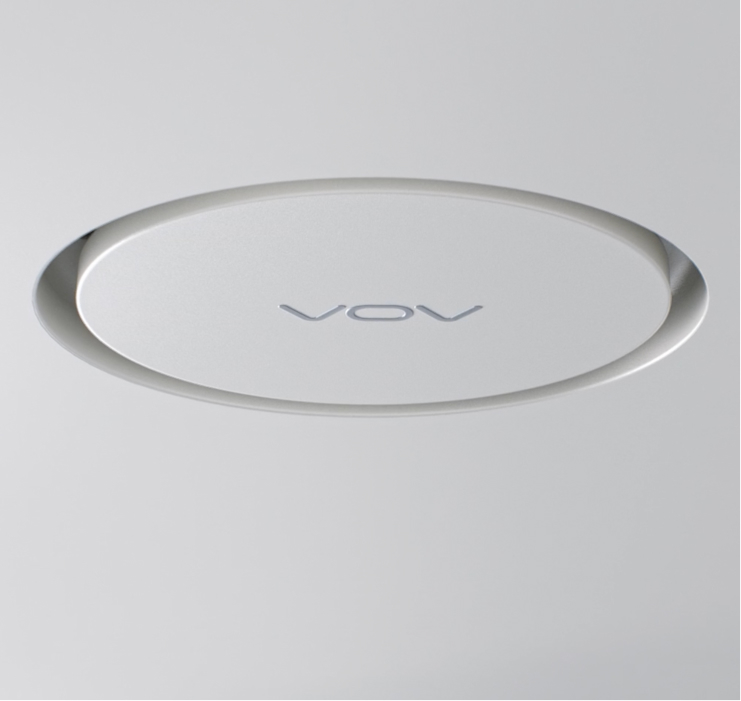
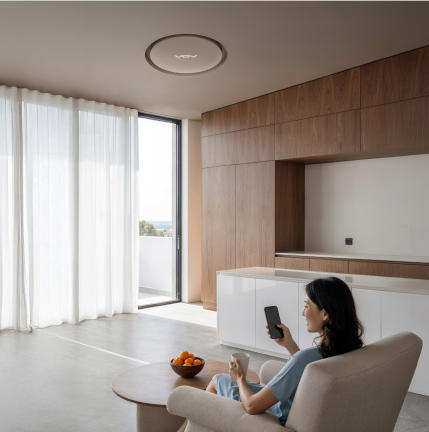
12. اكتمال التثبيت